Thursday, March 31, 2011

Seed Starting 2011 - Round #1

Last Sunday (March 27), I started the following seeds: 
  • Eggplant - Dusky, Farmer's Long, Charming, and Asian Bride
  • Parsley - Flat-Leaf and Curly
  • Lemon Blam
  • Chives  - Garlic and Traditional
Seed Starting Soil Mix
These fellows constitute round one because eggplant needs 8-10 weeks under lights before it is ready to transplant outside and it requires warm soil to survive outdoors. I plan to move mine into our raised beds around June 4, giving these guys 10 weeks to get growing (note: Raised beds tend to be warmer than ground soil, so June 4 might still be early if putting eggplant directly into the ground). Parsley and lemon balm are similar cases, taking 9 to 10 weeks to start indoors.

The chives are a total experiment. A lot of people say that chives are so easy to grow, you can just sprinkle some seeds outside and watch them pop up. I tried this last year and it didn't work, so this year I'm starting little clumps of them. What I'm slightly concerned about with this approach is that I've heard chives can take over a garden and these will be going in a raised bed with other herbs. So, because they'll get a head start, I'll have to make sure and keep on eye on them...

In addition to what, it's also important to consider how many. Based on the advice of others, I'm using the general rule to start at least one more cell of each plant than I think I need (i.e. I'm planning for 5 Dusky eggplants so I started 6 cells of 2 seeds each). Here's what the final planted tray looked like (with counts):


Mixing Soil with Water
The whole process took about an hour from start to finish and went a little something like this:
  • Take potting soil specifically designed for seed starting and mix it with water until moist but not soaking (I did this in a big aluminum bowl in our kitchen sink, much to Josh's dismay...pictured right).
  • Fill each container section approximately 3/4 of the way to the top with the wet soil mixture. 
  • Place two seeds in each section then cover with soil to just under rim of the container. Each cell gets two seeds as a sort of insurance policy in case one doesn't come up, and if both do, then you get to pick the stronger one.
  • Record where you put which seeds. Many seedlings look alike and even if you can distinguish between plant types (e.g. tomato vs. eggplant), it's very tricky to determine between varieties when they're that young. I draw a diagram (see above). Other people use popsicle sticks in the soil. Whatever works... 
  • When all seeds are planted, cover with the plastic dome and place under the lights (pictured below).
  • Set timer to have light go on around 6am and off around 6pm. 
And voila! The seeds are started. I'll try to keep this up to date with sprout sightings as well as plans for the next tray which is going in this weekend.
    Seed Starting Tray #1

Tuesday, March 29, 2011

Homemade Seed Starting System

Homemade Seed Starting System
In order to start seeds, you need a couple of essential tools, namely trays where the seeds will grow, soil, and lights. There are too many seed starting systems to count available for purchase online. However, because these can get pricey, last year Josh and I invented our own contraption. It consists of:
  • 1 freestanding shelving system
    • 5-shelves
    • 42 inches long x 16 wide x 70 tall
    • If possible, shelves should have holes on both sides for ease of hanging lights
  • 3 hanging florescent shop light fixtures 
    • 2 florescent lights bulbs per fixture
    • 48 inches long - these come in all sizes, but the standard 48 inch long bulbs are by far the least expensive making these fixtures the most economical
  • 6 florescent light bulbs
    • 3 warm spectrum (2,500-3,000 kelvin)
    • 3 cool spectrum (5,000-6,500 kelvin)
    • 1 warm and 1 cool go in each shop light fixture to provide a full spectrum of light for the plants - note: you can also buy "gro-lights" which have the full spectrum in a single bulb, but they're expensive so if you're looking for an economical way to go, try a two bulbed approach
  • Plastic drop cloth
  • Seed Starting Trays (pieces - top; assembled - bottom)
    • Big enough to wrap around the system, trapping the heat from the lights inside
  • Thermometer (to keep on a shelf, making sure it doesn't get too cold)
  • Power strip (each fixture has its own cord)
  • Electrical timer (so you don't have to manually turn lights on and off)
  • Basic 4-part tray system (pictured to right)
    • Tray of divided potting containers
    • Solid black insert/water reservoir
    • Stiff green bottom tray
    • Plastic dome cover
And that's it! ... in theory. Tomorrow I'll share my first attempt this season to simulate nature and grow eggplant and a few miscellaneous herbs in my basement.

Monday, March 28, 2011

The Start of Seed Starting

Last night I had visions of an eloquent blog post about seed starting with handy tricks for my loyal readers. Unfortunately, this is only my second attempt at starting seeds and I have no useful tips because last year I gave our seeds sun stroke about 3 weeks into the process meaning this is, in many ways, my first go of it.

Now that you're so enticed to keep reading you can barely stand it, let me begin by explaining what seed starting is and why you'd want to do it...

Basically, there are two ways to get vegetables plants into a garden: 1) put seeds directly into the ground, called direct sowing and 2) plant seeds in small containers of soil indoors and, when they're strong enough and the weather is warm enough, transplant them outside. This second is called "seed starting" because, as its name suggests, you are germinating and beginning to grow seeds before they go outdoors. (For anyone who's ever had a garden, starting seeds is what nursery's and farmers do to sell you "seedlings" in the early summer months).

For me, there are two main reasons to start seeds: First, you extend your growing season, letting you plants get a head start inside March-May so that from June-September when it's warm enough for them to be in the garden, they can dedicate all of their energy to producing harvestable fruits (instead of germinating and creating leaves). Second, from a lazy standpoint, a garden with seedlings is easier to care for than one with seeds. You know where the plants are and you can mulch around the plants to pre-empt the weed without having to worrying about covering up your unsprouted seeds.  

It's worth noting that some plants - peas, beets, carrots, and beans to name a few - don't need to be started indoors. Part of the reason is that they have a relatively short growing period and therefore, do not greatly advantage from the extra time. Another reason is that some of these have very sensitive roots that don't like to be transplanted or, in the case of carrots and beets, the root is actually what you want to eat and transplanting can lead to strange shapes and stunted root growth.

In case I've explained myself poorly, here's a short (4 minutes) video giving a good overview of seed starting.


In my next post, I'll propose a way of saving a significant amount of money on store bought seed starting systems by assembling your own.

Tuesday, March 22, 2011

Despite Our Best Intentions...

Earliest Spring Flowers
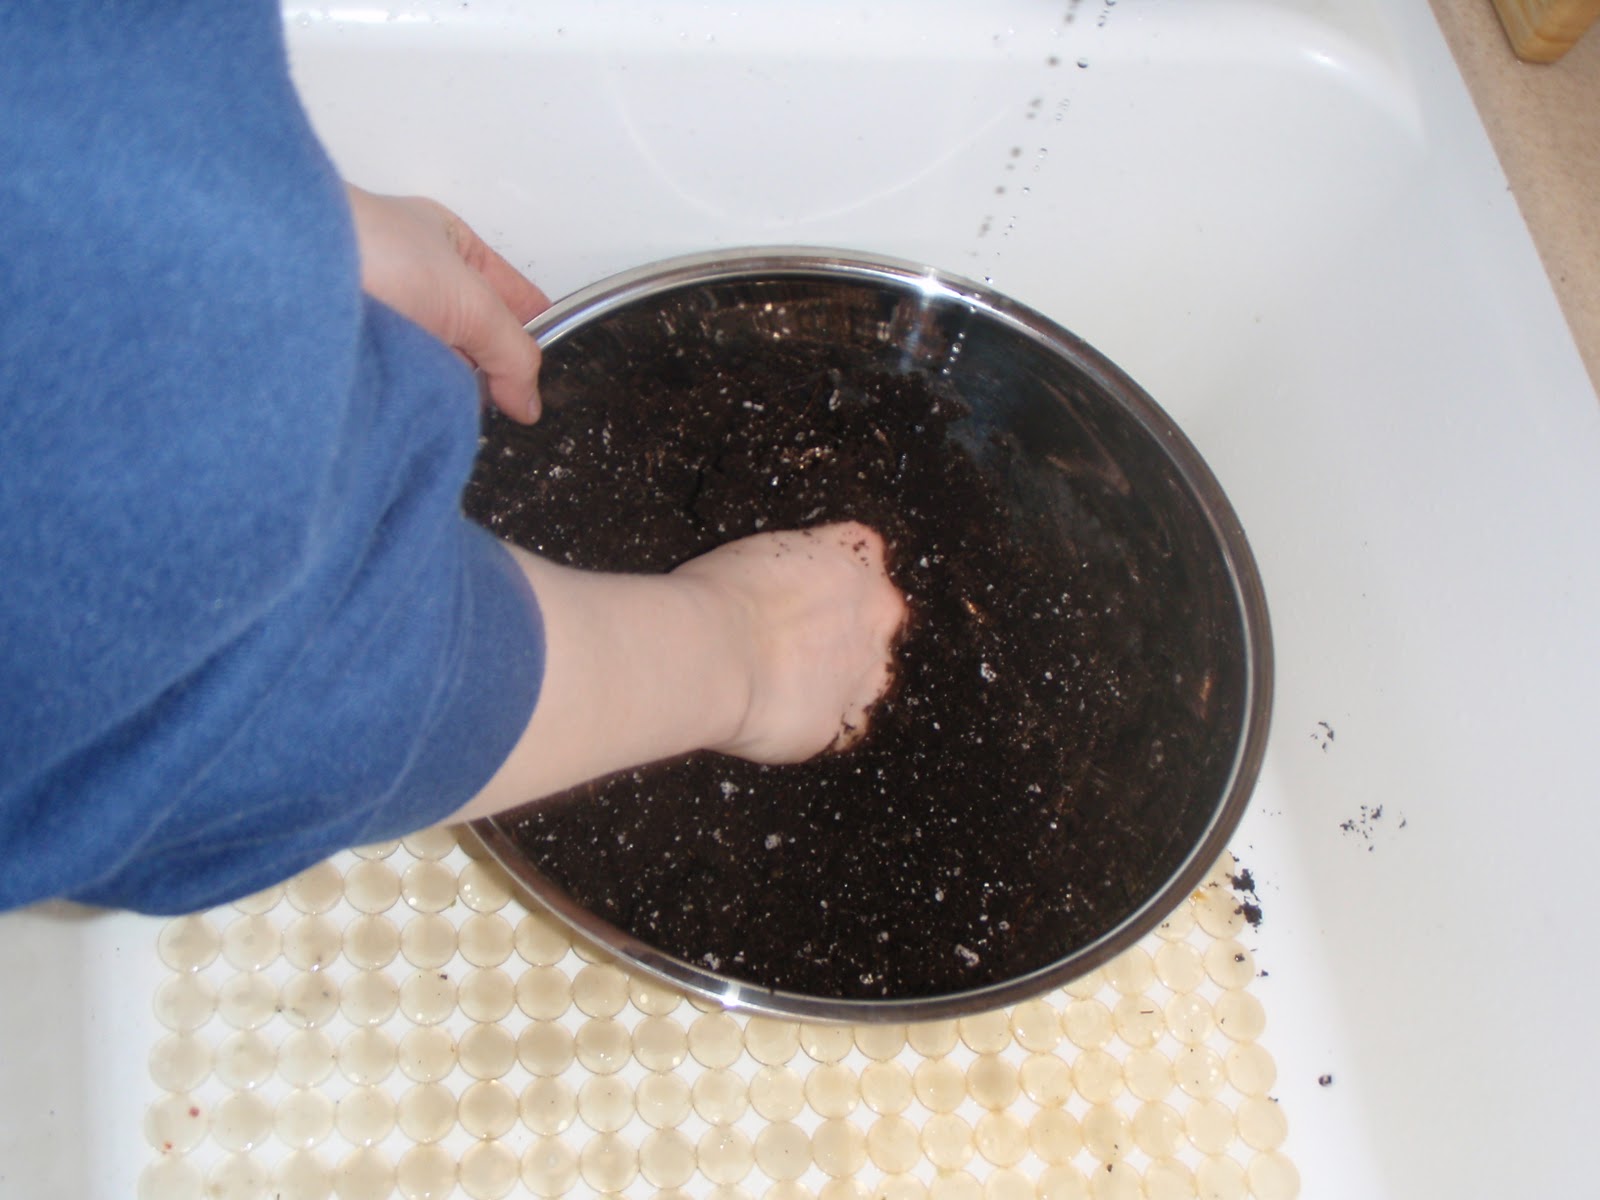
Sometimes, despite our best intentions, things just don't work out the way we intended. For instance, this past Saturday was an idyllic day before the official start of spring, and so Josh and I went for an epic walk around town. I'm not a camera carrier nor a photo documenter, but a good part of me wants to be for the sake of this blog so I even brought my camera and took a few photos of the flowers popping up in yards all over. The plan was to use these as the basis for a "Welcome to Spring!" post on Sunday (the first day of spring). Of course, as you've probably induced by now, that didn't happen, and here we are two days past the official start of the season, with me anticlimactically offering - oh, by the way - happy spring. Here's a photo. 

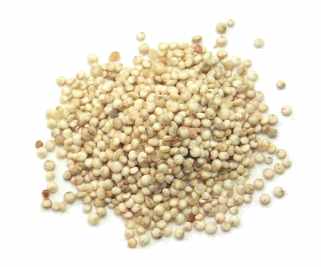
Obviously, this example is fairly harmless. Unfortunately, however, our failed attempts at good-doing are not always so benign. Take for example the United States' relatively new and increasing love for quinoa. Though people will debate how it's pronounced, it's hard to find anyone health savvy who won't support an overwhelmingly positive nutritional analysis of this near wonder food. In fact, NASA even posits that with its "exceptional balance of amino acids, quinoa... is virtually unrivaled in the plant or animal kingdom for its life-sustaining nutrients."

Quinoa
In addition to great nutrients, quinoa is also fairly versatile. Related to beets and spinach, quinoa isn't a grain, but it can be used like one, replacing other carbohydrate fillers like rice and potatoes. And what's not to like about this, right? We live in a country with a growing obesity problem that also loves meat and potatoes. This food can actually help us get more out of our food without sacrificing a texture that we love. Great!

Well, my friends, turns out that it's great for us and our European friends who have also embraced the food. It's not so great though for the Bolivians who can no longer afford this staple crop grown in their country and are now, ironically, turning to the processed foods that increase the risk of obesity and malnutrition at the same time.

So, a quinoa lover myself, I am now working my way through our remaining supply of quinoa (and savoring every bite of it) because I will buy the delectable specimen no more. 

Ultimately, this is just another argument for localization. The facts are:
  • We don't need quinoa in our diet. Though it has great nutritional value, in Michigan we are at no loss for healthy and plentiful crops to eat.  
  • We can't grow quinoa.  If we want it on our plate, we have to import it from Bolivia, increasing our carbon footprint through transportation. 
  • By purchasing quinoa, we increase the demand for it and, consequently, its cost. As a result, Bolivians who do depend on quinoa for basic nutrition can't afford to purchase this product grown in their own country as a staple of their diet. Seems like a huge and preventable social injustice to me...

Living in such a relatively prosperous nation, many of us have choices when it comes to what we eat and it falls upon us to make choices that are good for us and good for our local, national, and even global community. So, in sum, whenever possible eat local so our global friends can simply eat.

(Information in this post taken from "Quinoa's Global Success Creates Quandary at Home,"  an article in the March 20, 2011 edition of The New York Times. Thanks Josh for being such a diligent newspaper reader.)

Thursday, March 17, 2011

Tool for Savvy Seed Starting & Sowing

Today I come bearing good news about a great tool. My friends, it's simple, it's ingenious, and it makes easy planning your seed starting and sowing with confidence. Brought to you by the people at Johnny Selected Seeds, it's the totally free and super informative Seed Calculator.

Basically, you just enter your "spring frost-free date," or the average last day that you can estimate frost to occur. Then, according to your frost date, this handy table generates the date ranges when you should start specific vegetables plants indoors from seed and when these seedlings should be planted outside.

For my part, I based my planning on the conservative estimate that southeastern Michigan's frost free date is May 21 (though other sources day it can be as early as April 26). Find your own date using the Farmers' Almanac Average Frost Date table. Obviously, no matter what date you use, once you've planted anything outdoors, it's always wise to keep on eye on weather reports in the early season months. This way, if you know frost is likely during the evening, you can take precautions on behalf of your young plants (there are many methods for doing this, ranging from homemade plastic covers to these professional grade fabrics and contraptions). 

I was once skeptical of the need to seriously consider this frost date. I mean, once it's warm, it's warm right? Consider the following from the Farmers' Almanac:
  • 29-32 degrees Fahrenheit kills tender plants
  • 25-28 degrees kills most vegetation
  • Below 25 degrees kills everything other than evergreens
I've smartened up and learned that with the substantial investment of time, energy, and money that goes into plants before you ever put them in the ground, it's important to a) consider frost date estimates and b) watch the weather once you commit your plants to living outside. Fortunately, to alleviate some of the potential anxiety that comes with having to consider yet another factor in gardening, I return to the seed starting and seedling planting date calculator which makes managing these factors all the more manageable.

Map for Rough Frost Free Date Estimates

Wednesday, March 16, 2011

Recommended Reference

This morning I had the relative luxury of coming to work an hour later than usual (the result of staying late on Monday). In my extra time, I pulled out my favorite slow cooker reference book - Fresh From the Vegetarian Slow Cooker by Robin Robertson - and put together some "Hungarian Goulash" (p. 86) for tonight's dinner. Made with tempeh (a fermented block of soy beans) and served mixed into noodles, this very thick stew has sauerkraut, a tomato base, and provides a truly hearty meal that does not lack for flavor or texture. 

The cool thing about this book is that it has over 200 recipe ideas which, though I doubt they were written with preserver-cooks in mind, lend themselves incredibly well to substitution, replacing store-bought canned ingredients with homemade equivalents.  Below I've included an example below of an original recipe from the book. In orange are my changes which allowed me to use mostly home-preserved ingredients, making it necessary to buy only a couple of non-local items (e.g. bouillon for vegetable stock, tempeh, and salt).

Hungarian Goulash with Tempeh
Ingredients
  • 2 tablespoons olive oil Enough butter to coat the pan (about 1/2 tablespoon)
  • 1 pound tempeh, cut into small cubes
  • 1 small yellow onion, halved and sliced thinly into half moons (2-3 small onions, can find local ones almost year round)
  • 2 cups sauerkraut, drained and rinsed (more like 3 cups and I don't drain or rinse... that's all the flavor!)
  • 14.5 ounce can diced tomatoes, drained (about 8-10 whole frozen paste tomatoes, skins removed if desired, thawed and diced)
  • 1 tablespoon sweet Hungarian paprika 
  • 1/4 cup dry white wine (red also works, depending on what you have open, and you can use more for more intense flavor)
  • 1 teaspoon caraway seeds
  • 2 tablespoons tomato paste (3-4 tablespoons crushed dried tomatoes)
  • 1 1/2 cups vegetable stock
  • Salt and freshly ground black pepper
  • 1/2 cup sour cream or tofu sour cream
Instructions
  • Saute tempeh in olive oil for about 10 minutes. Put in slow cooker.
  • Saute onions in olive oil until soft. Put in slow cooker.
  • Put everything else in slow cooker. Cover. Cook on low 6-8 hours.
  • Serve over wide noodles (mixed into whole wheat macaroni).

This type of substitution definitely takes some practice because, as far as I know, there's no one reference for converting canned tomato units to whole frozen ones. But rest assured: because most slow cookers dishes are stew-like, it's pretty difficult to make something inedible (just be sure that in anything including uncooked grains, you don't skimp on the liquid since the grains need to absorb this liquid in the cooking process). Plus, Fresh From the Vegetarian Slow Cooker is a great reference and a good inspiration so experiment away (and let me know if you find conversion rates from standard quantities to home-preserved quantities that you can rely on)!

    Monday, March 14, 2011

    Preseved Menu Planning: The Importance of Being Realistic

    This will be the last installment of the "Preserved Menu Planning" series and perhaps the most important one as well. I know I can be pedantic so, for the sake of ending with a clear message, I'll give it to you straight: in all things food preservation, realistic expectations are a must.

    First, don't expect that you'll enjoy the taste of a food more once it's been processed. I don't really like cooked greens. They're okay in soup, but other than that I'm not a huge fan. Last year I froze potstickers filled with chard (a cooking green)... now the three gallon-sized bags of them are some of the few items remaining in the chest freezer. Hopefully Josh is into them... like really into them.

    Second, preserving does not improve the quality of the raw ingredient. Every year we have at least one batch of pole beans that goes just a few days too long, making the beans stringy and bitter. It feels like such defeat to let a one-day overgrown batch of beans go to waste, so I always want to find a way to use them. Then I remember that there's almost nothing worse than taking the time to preserve a dish only to pull it out for use several months later and have it be relatively inedible. In other words, though you don't have to use the cream of the crop per se, it's important that all ingredients for preserving are fresh and in their prime (if you don't want to waste the rest - and really who does? - compost it!).

    Finally, do what you can. Let's face it: nearly everyone reading this has priorities that do not include food preservation. And that's okay. Just because you can't preserve enough to completely replace November to June food with local Michigan produce doesn't mean that you can't supplement with 5%. Or 15%. Or 47%. It's easy to get wrapped up in the process (something I'm more than guilty of), but if you set aside just a couple of weekends each summer to dedicate to a new preserving recipe, well then you're on your way.


    So, in recapitulation, to be successful in creating a year-round menu of preserved foods:
    • Plan ahead.
    • Record successes and failures.
    • Incorporate as much variety as possible.
    • Be realistic.


     With only 6 days until the official start of spring, better get to it!

    Tuesday, March 8, 2011

    Preserved Menu Planning: MVPs

    In trying to create a balanced menu of preserved foods, there are a couple of standout players, the MVPs of variety and texture. Today's post is dedicated to them.

    The Tomato
    I cannot overstate the importance of the tomato in my planning of food preservation. In fact, tomatoes play such a critical role that in addition to the literal bushels of them that we get throughout the summer from our Tantre Farm CSA share, we ourselves are growing 35 plants. You see, tomatoes are hugely versatile. Add them to a stew for a bit more flavor. Core them and then freeze 'em whole for use throughout the year. Use them chopped in salsa, stew them to add to any grain, cook them down for tomato sauce or soup. The possibilities are seemingly endless.


    "Raw" Freezer Produce
    If you like to cook at all, it can get kind of tiring to just pull something out of the freezer and heat it up on the stove. So, instead of preparing dishes to freeze, prepare "raw produce." Though you have to blanch most items before you can put them in the freezer, by freezing diced carrots, sliced onions, whole tomatoes, shelled peas, and other ingredients, you have the makings for whatever you're in the mood for. And trust me, this is a good thing because what you want to eat and prepare in the 90 degree days of August  is very different than what you want after a sunless day in cold February.


    Spices & Herbs
    I'm sure a good number of gourmands will agree that the best way to add flavor to something is through the use of herbs and spices. The same applied when preparing preserved food (though do take note that you have to be careful with canning because those recipes are designed to create food that is safe to eat). When drying or freezing something, play with spice combinations. And, if you're in the habbit of adding a blend of oregano and basil to almost everything, try using them on their own and/or with other herbs and spices (it's amazing how different combinations bring out different flavors, even within the herbs themselves!).  If you're not sure where to start, talk to a local specialty grocer, visit a kitchen shop, chat with a farmer at the farmers' market, or ask a friend what they keep in their pantry.

    Saturday, March 5, 2011

    Preserved Menu Planning: The Seasonality of Flavor & Texture

    Rough Outline of Major Produce Seasonality in Southeast Michigan
    I know this table is not especially beautiful, but I promise fellow food preservers that what it lacks in form, it makes up for in function.

    You see, I've learned that the most important thing in preserving an abundance of food is making sure that it has an abundance of variety, especially in the flavor and texture departments. One of the easiest ways to get variety of preserved foods is, of course, to use a variety of main ingredients. Not only do different ingredients lead to dishes with distinct flavors (sweet/sour/savory/briny) and textures (pureed/chuky/liquidy), but they also contribute to better overall nutrition (vitamins a-e in carrots/fiber in peas/lycopene in cooked tomatoes). 

    That's all well and good and I doubt anyone will dispute the premise. However, the tricky thing about local produce, especially in Michigan, is that is has a limited season. Take, for instance, those fibrous peas: If you want to freeze a bulk order of whole peas and need to get them from the farmers' market to do so, better get there in June otherwise you'll find yourself pea-less. Same thing with blueberries. And sweet corn. And parsnips. You get the idea...

    That's where the table comes in handy, to give you a general sense of when you can easily find a specific product (and one of the best things about getting it during its peak season is it tends to be cheaper and better quality). Obviously, if you have a garden, you'll know when this stuff is available, but in case you're looking for some produce that you're not growing yourself or you want to supplement your own stock with a bulk order from elsewhere, to the table!

    I find that the table alone isn't enough. For me, the best way to keep track of these things is to make rough notes on my personal calendar of which weekends (or weekdays) I plan to commit to securing the ingredient I need to make a specific dish.

    Speaking of which, I need to add "pickled asparagus" to my calendar for Saturday, June 11. We've missed the season every year except our first, so I am hell bent on eating asparagus in January 2012...